|
|


|
|||||||


| التسجيل | التعليمـــات | التقويم | البحث | مشاركات اليوم | اجعل كافة الأقسام مقروءة |
| Lessons Image Ready Lessons Image Ready Adobe Photoshop, Photoshop Tutorials Move photos |
 |
|
|
LinkBack | أدوات الموضوع | انواع عرض الموضوع |
|
|
|
|||||||
| التسجيل | التعليمـــات | التقويم | البحث | مشاركات اليوم | اجعل كافة الأقسام مقروءة |
| Lessons Image Ready Lessons Image Ready Adobe Photoshop, Photoshop Tutorials Move photos |
|
|
|
LinkBack | أدوات الموضوع | انواع عرض الموضوع |
 20-Jul-2007, 05:33 PM
|
رقم المشاركة : 1 (permalink) | ||
|
Animated Earth Exclusive Tutorial There are tons of tutorials describing how to draw our Earth. But all of them are static and they only show the Earth from one side. It is more interesting to see the globe rotating. I've decided to fill this gap and write a tutorial devoted to the Earth's rotation. Tip: If you want to repeat my steps using the picture resolution that I use, make sure your computer is powerful enough to handle it. Otherwise, you can reduce all the parameters and work with smaller images. I prefer to work with larger resolution, because I want to have more freedom while editing images, and to save the resulting image at a smaller size for better quality. The first part of the project will be done in Photoshop. Open Photoshop and create a 600x600 px document with a transparent background. Select the , set the Shape Layers in the tool's properties and draw a circle in the center sized 500x500 px. It doesn't matter what color you use. This will be the basis for our globe. Call this layer Back. 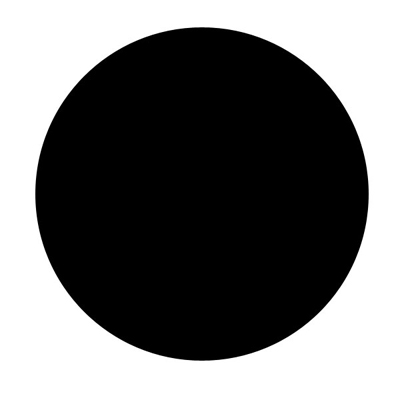 Now apply the following Blending Options: and . 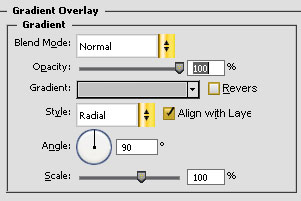 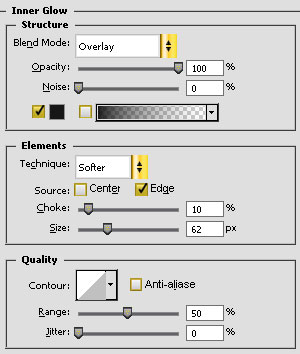 And don't forget to set the at 40%. It should look like this: 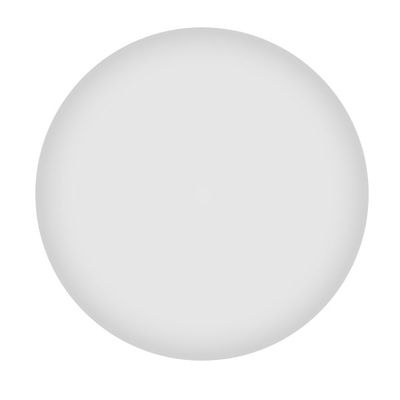 this layer, the lower layer, and for the upper layer set the parameters for as follows: 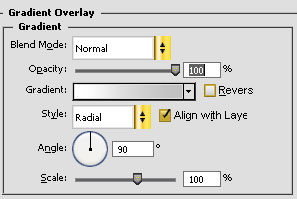  Also set at 60%. Call this layer "Background". You should have something like this: 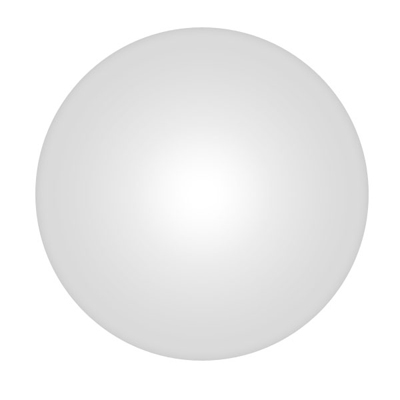 this layer once more, the lower layer, and for the upper layer change in the following way: 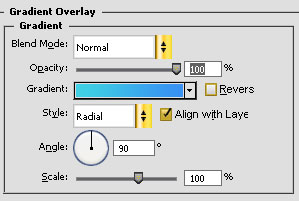 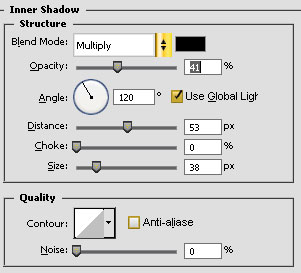 Setat 100%, and call this layer Foreground. You will have something like this: 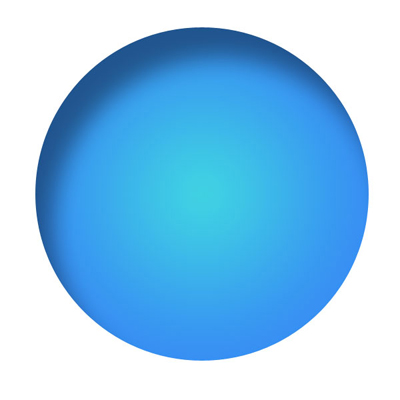 Now these circles, we'll get back to them later. We need these three circles for showing different parts of the Earth: first for the transparent part, second for the continents, which are moving from the invisible side of the Earth, third for continents which are moving from the visible side. Now I'll show you how it looks in reality. Download a file containing the of the earth's surface from here and import it into your document. It fits the height, but it is a little wider than we need. Everything is OK, just make the wider too: set the width to 2000 pixels.  Click to enlarge For our goals we need a stretched map. the map layer, then it to any side by 800 px. all map layers. Repeat this procedure moving layers to the opposite side. The result looks like this: 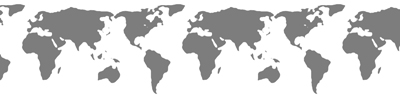 Click to enlarge this layer so that you get two maps. Send one of them until it's place is under the Foreground layer (I'll call this layer "Map Foreground"). Do the same for the other layer until it is situated under the Background layer (I'll call this layer Map Background). This is how my panel with the layers looks.: 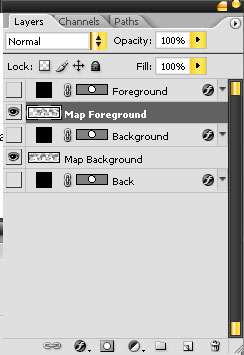 Now Ctrl+click on one of the circle layers, then select the map layer and . Repeat this procedure for the second map layer. Then . After that select the Foreground layer and create a . Do the same for the Background layer. You'll get the following in the layers list: 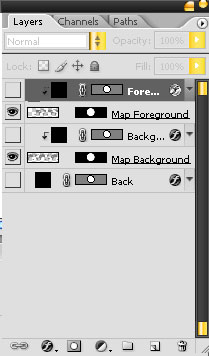 Now make all layers and look at what you've done:  Click to enlarge Here, we can clearly discern the contours of the continents and our home planet. However, only the front part of the globe is visible, and the back one, semi-transparent, is hidden, because it corresponds to the front part and is covered by it. The front layer continents will be moving from left to right and on the back layer, vice versa, from right to left. Correspondently, you have to flip the map on the front layer . Also you need to shift the front or back map in such a way that Foreground map will show one part of the map and Background map - its opposite part (just move the layer with map left or right). This is how it looks after the shift:  Click to enlarge Now we can see both front and back parts of the globe. In general, if you don't want to use animation we can stop right here. We've created another static picture of the Earth. But we'll continue our learning process and finish our tutorial in ImageReady. . Now we'll talk about the most simple and interesting part. It is simple because we did all the preliminary work, and interesting because in only several simple steps we'll create an animation. Press the Duplicate Current Frame button. In a new frame move the Map Foreground layer with the help of the tool by 800 pixels to the left, and Map Background layer by 800 pixels to the right. Then press the Tween button.... Set the following parameters: 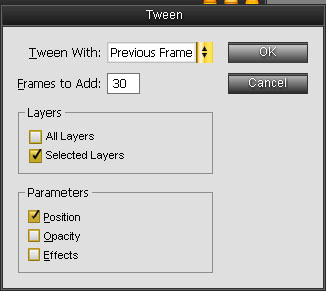 Use the tool for cropping the globe to the size you need and save it. I set the size to 60 õ 60 px, because it is the best size for a thumbnail at .  Now you have your own rotating Earth. Enjoy it! 
|
|||

|
|
02-Aug-2007, 07:06 AM
|
رقم المشاركة : 2 (permalink) | ||
|
والله الدروس أروع من الرائعه بس ينقصها الترجمه :
|
|||
|
|
|
| مواقع النشر (المفضلة) |
| الذين يشاهدون محتوى الموضوع الآن : 1 ( الأعضاء 0 والزوار 1) | |
| أدوات الموضوع | |
| انواع عرض الموضوع | |
|
|
 المواضيع المتشابهه
|
||||
| الموضوع | كاتب الموضوع | المنتدى | مشاركات | آخر مشاركة |
| درس حركة جعل الكرة تتنطط | مدمن تصميم | دروس ايمج ردي - Image Ready | 2 | 08-May-2009 01:05 PM |
Design - Scrapbook - Photoshop - Adobe - Image - Flash - Swish - 3D - 4D - Illustrator - Corel Draw - Lessons - English - Forex - Web Links - youtube - Vectors - sms - mms - psd
برامج , العاب , صور , ازياء , برامج اون لاين , رياضة سبورت , اخبار ماكس مام , دليل المواقع : للاعلان فى موقع مدرسة التصميم
|
|
|

 : فقط
: فقط


 العرض العادي


